1.
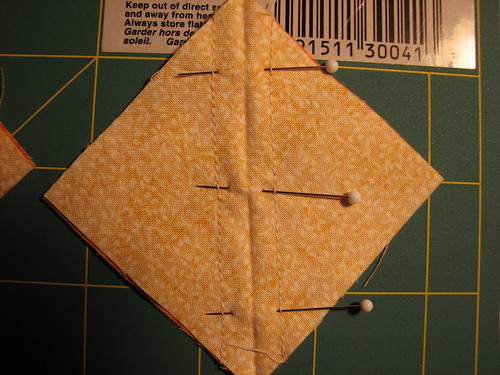
First step in making a half-square triangle is to take one square of fabric fold it in half diagonally, press.
2.
With right sides together pin to a second square and sew 1/4 inch on either side of fold. Having a 1/4 inch foot is helpful, but it can be marked with a ruler.
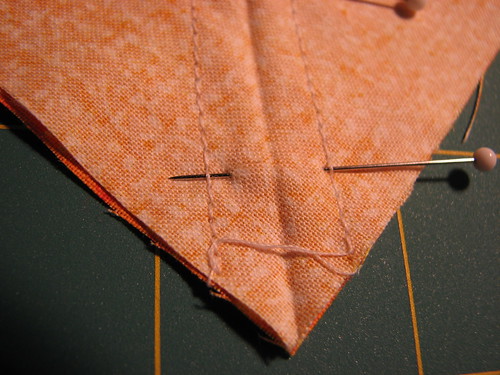
3.

Cut through squares along fold.

4.

Press seam to the dark side.
5.

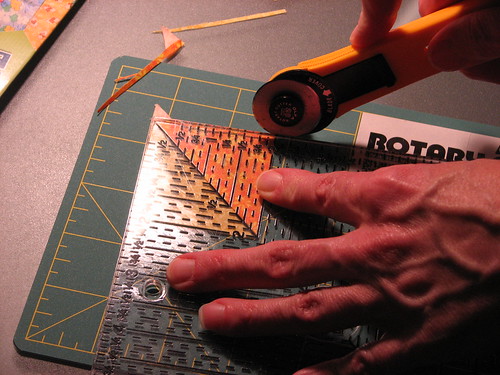
Take a square ruler...

... that has a line running diagonally across.
6.
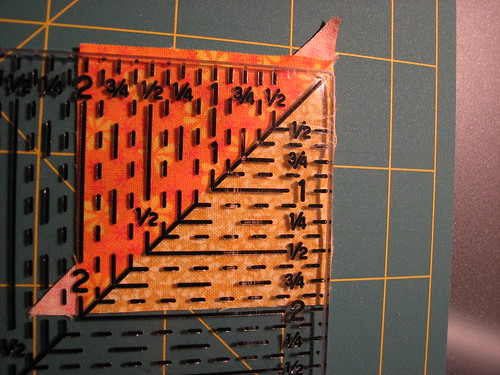
Put that line on the seam line where the two fabrics meet. This square is supposed to be 2 inches, so I've got the bottom and the left side at 2 inches. Be sure to keep the diagonals lined up. (Note the yellow is on the bottom right.)
7.

With a rotary trimmer trim the excess off the right side. Don't move anything yet.
8.
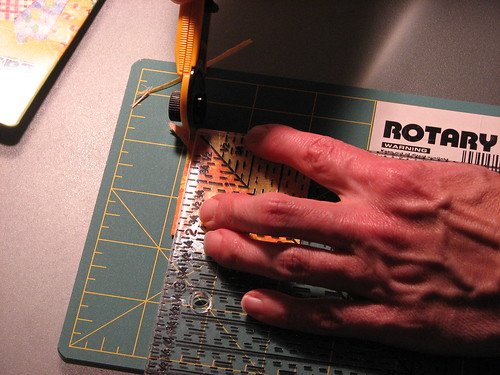
Trim off the top.
9.

Turn the square so that the other color is on the right and bottom. Line everything up again.
10.
Trim right side. Then trim the top.
Once you have a bunch of these half-square triangles you can make pinwheels or other designs.
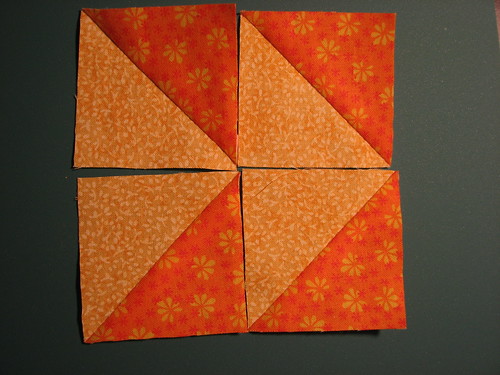
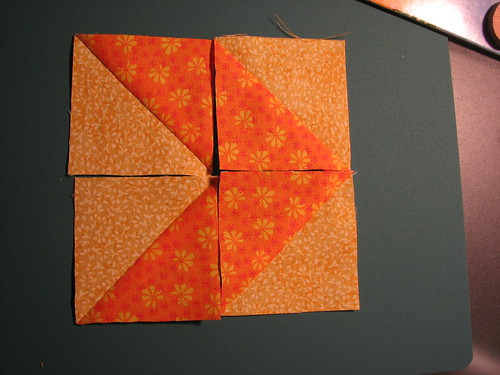
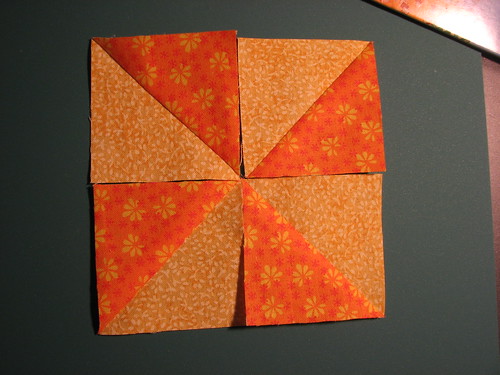
I chose to sew these together in the pinwheel.
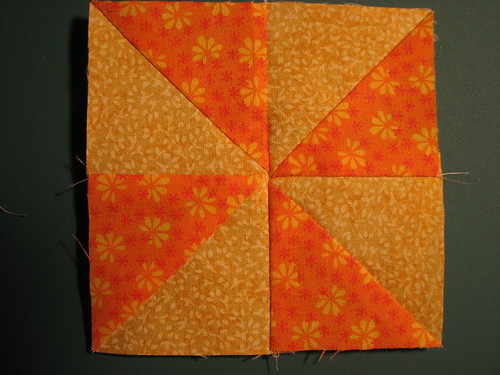
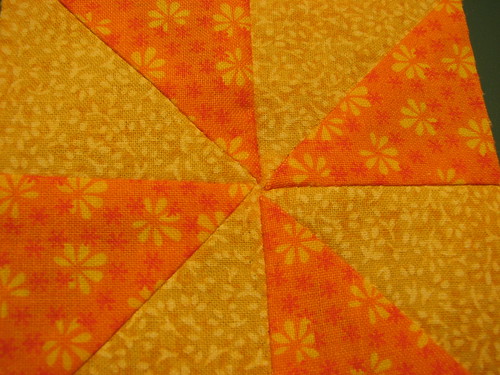
The points should all match up in the center. Sometimes this works better than other times, but when I wasn't squaring them up properly they didn't match at all. Before I wasn't lining up the diagonal line on the ruler with the diagonal seam on the square I was putting the line of the ruler perpendicular to the seam line. While I still have some trouble getting them perfect, they're a whole lot better than they were.
2 comments:
Looks like more work than I would want to do. Very nice!
Thank you friend. I appreciate your lesson. Now, when I go to make something with half square triangles I'll know what to do.
Post a Comment